
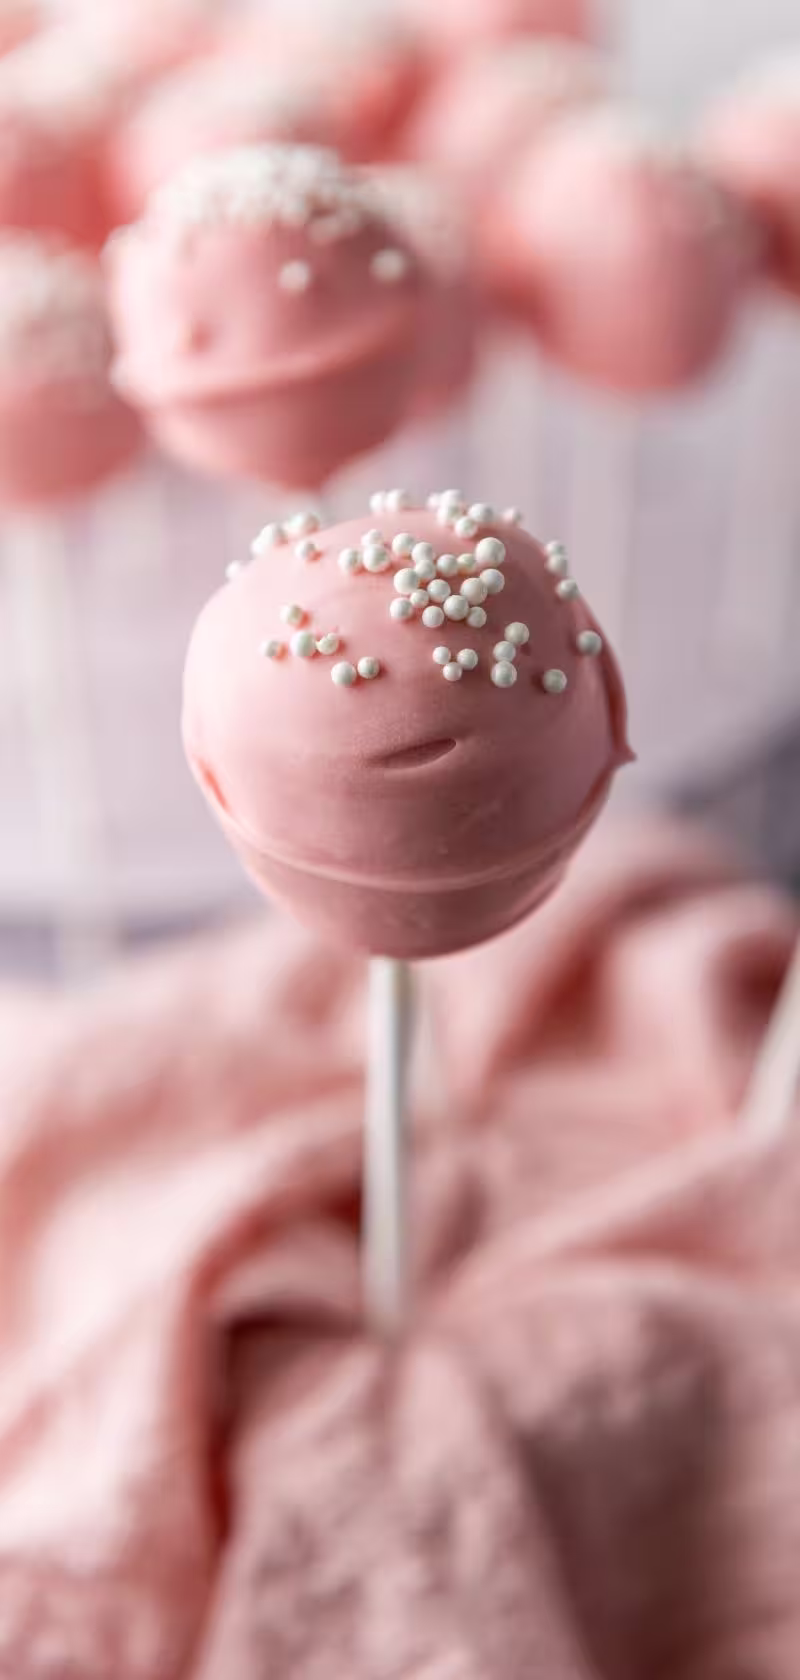
How To Make Perfect Pink Cake Pops
Wondering how to make those cute pink cake pops you see in coffee shops? These fun cake balls are easy to assemble. Use them as delicious bite-sized party treats for any occasion! Made with soft vanilla cake, creamy frosting, and a pink candy coating, they’re a show-stopping dessert that everyone will love.
No complicated tools or fancy baking skills are required—just a simple cake mix, frosting, and candy melts. With a few easy steps, you’ll create a batch of pink cake pops that look like they came straight from a bakery display.
Stick around, and I’ll show you how to whip up these irresistible pink treats. By the end of this post, you’ll have everything you need to create stunning, homemade cake pops that are perfect for parties and gifts, or use them as a Valentine’s or Easter dessert!
Ingredients For Pink Cake Pops

- One box of classic cake mix (like Duncan Hines or your favorite brand)
- 3 eggs (check your cake mix box for specific requirements)
- 1/3 cup oil (adjust if needed per the cake mix instructions)
- 1 cup water (or as specified on the box)
- 1/4 cup vanilla frosting (pre-made for convenience)
- 12 oz pink candy melts
- White sprinkles for decoration
- cake pop sticks
This simple ingredient list keeps things stress-free while ensuring a stunning final product.
Note: If you prefer to make everything from scratch, use this white vanilla cake recipe.
Step 1: Bake the Cake
- Preheat your oven according to the temperature listed on the cake mix box.
- Make the cake, following the instructions on the side of the packet.
- Pour the batter into a greased baking pan.
- Bake according to the time and temperature on the box. Use a toothpick to check if it’s done—it should come out clean.
- Once baked, let the cake cool completely. Cooling is crucial, so don’t rush this step!
Step 2: Crumble and Combine
Here’s where the fun begins! Transform that cake into the base for your pops:
- Once the cake is completely cool, crumble it into fine crumbs using your hands or a food processor. Aim for a uniform texture.
- Add the vanilla frosting to the crumbs. Mix until the mixture holds together when pressed. It should feel like slightly damp sand—not too sticky but cohesive.
Pro tip: Start with a little frosting and add more as needed to avoid an overly sticky mix.
Step 3: Shape the Cake Pops
Now it’s time to roll up your sleeves (and the cake balls):
- Scoop out small portions of the cake mixture—about a ping pong ball size.
- Roll them into smooth balls and place them on a baking sheet lined with parchment paper.
- Freeze the balls for 15-20 minutes. Chilling helps them firm up and makes dipping easier.
Step 4: Melt and Dip
Let’s get these pops dressed up in their pink candy coating:
- Melt the pink candy melts according to the package instructions. Use a microwave or a double boiler, stirring until smooth.
- Dip the tip of a cake pop stick into the melted candy, then push it about halfway into one of the cake balls. The candy will harden and help secure the stick.
- Dip the entire cake ball into the melted candy. Rotate to coat evenly and let the excess drip off.
Good news: If the coating starts to thicken, you can reheat it briefly to restore the smooth consistency.
Step 5: Decorate and Set
Here’s where your creativity shines:
- While the coating is still wet, sprinkle sprinkles over the top.
- Place the cake pops upright in a styrofoam block or a cake pop stand until the coating sets. Repeat with the remaining cake balls.
- Let the pops set completely at room temperature or in the fridge.
Step 6: Serve and Enjoy
Now, the pops are ready to be served. Arrange them in a pretty display or wrap them individually for party favors. These treats are guaranteed to delight kids and adults alike!
Storage Tip: Store leftovers in an airtight container in the fridge for up to a week.
This recipe is part of my Quick and Easy Family Recipes collection — your go-to hub for simple recipes for busy families.
Pro Tips for Making This Recipe
- Let the cake cool completely: If the cake is still warm, the frosting will melt, and the mixture won’t hold together. For the best results, bake the cake the day before and let it cool overnight.
- Chill before rolling: Warm cake and frosting can be sticky and hard to shape. Chilling the mixture before rolling makes it easier to create smooth, even balls.
- Use fine crumbs: The finer the cake crumbs, the smoother and sturdier your cake pops. Avoid large chunks that could make the cake balls fall apart.
Need some other pink or pastel party foods? Try
Why You’ll Love These Cake Pops
- Quick to make: Using a boxed mix and pre-made frosting saves time.
- Customizable: Switch up the candy melt colors and sprinkles for any occasion.
- Portable: Perfect for parties, school events, or a fun family dessert.
Display Ideas
Add some sugar flowers for a delicate touch.
Display in a small vase or mug or even a ceramic flower pot.
Final Thoughts
Now you can make these easy, adorable Pink Cake Pops! These treats are guaranteed to impress at parties, make great gifts, or satisfy a sweet craving at home. Ready to get started? Download the full recipe now and pin this post so you can return to it later.
Pink Cake Pops
Ingredients
- 1 box classic cake mix I used Duncan Hines
- 3 eggs as required by the cake mix – this can vary with different brands
- 1/3 cup oil as required by the cake mix– this can vary with different brands
- 1 cup water as required by the cake mix– this can vary with different brands
- 1/4 cup vanilla frosting pre-made
- 12 oz pink candy melts
- White sprinkles
Instructions
- Preheat your oven to the temperature specified on the cake mix box.
- In a large mixing bowl, combine the cake mix, eggs, oil, and water. Mix until well combined and smooth.
- Pour the batter into a greased baking pan and bake according to the instructions on the box.
- Once baked, remove the cake from the oven and allow it to cool completely.
- Once the cake is completely cooled, crumble it into fine crumbs using your hands or a food processor.
- Add the vanilla frosting to the cake crumbs and mix until the mixture is well combined and holds together when pressed.
- Using your hands, scoop out small portions of the cake mixture and roll them into balls. Place them on a baking sheet lined with parchment paper.
- Freeze the cake balls for about 15-20 minutes, or until they are firm.
- Melt the pink candy melts according to the package instructions, either in a microwave or using a double boiler.
- Dip the tip of a cake pop stick into the melted candy, then insert it into a cake ball (about halfway through). This helps secure the stick in the cake ball.
- Dip the entire cake ball into the melted candy, turning it to coat evenly. Allow any excess coating to drip off.
- While the coating is still wet, sprinkle the white sprinkles over the top for decoration.
- Place the cake pop upright in a styrofoam block or cake pop stand to set. Repeat with the remaining cake balls.
- Allow the cake pops to set completely at room temperature or in the fridge.
- Once set, the cake pops are ready to be enjoyed! Store any leftovers in an airtight container.
Looking for more help in the kitchen? The Kid-Friendly Recipes resource hub at Rediscovered Families has everything in one place — from recipe collections to holiday treats and fun recipes to make together.