
How To Make Glow-In-The-Dark Slime
Are your kids fascinated by things that glow in the dark? Have you ever wondered how to make glow-in-the-dark star slime?
Imagine your kid’s excitement when they make their very own glowing slime! This fun and easy activity is perfect for keeping them entertained and curious.
Making glow-in-the-dark slime isn’t just about mixing ingredients. It’s a unique chance to ignite creativity and curiosity in your children.
As they play with a gooey, stretchy substance that magically glows in the dark, they’re also engaging in a scientific experiment. It’s a blend of science and fun, a hands-on learning experience they’ll remember!

You don’t need any fancy supplies. Most of the ingredients are probably already in your home.
The process is simple and quick, guaranteeing a mess that’s easy to clean up. Plus, it’s an excellent opportunity to teach your kids some basic science principles in a hands-on, engaging way.
By the end of this blog post, you’ll have all the tips and tricks to create the perfect glow-in-the-dark slime. Get ready for an activity that will illuminate your child’s face with pure joy and unquenchable curiosity!
Ready to learn how to make glow-in-the-dark star slime?
Materials for Glow in the Dark Slime
- 1 (5oz.) bottle of glow-in-the-dark glue
- ½ tbsp. Baking soda
- 1 tbsp. Contact solution (must contain both boric acid and sodium borate).
- Glow in the Dark stars
- Mixing bowl
- Mixing spoon
- Plastic mat
How To Make Glow In The Dark Slime
We’ll show you how to make glow-in-the-dark star slime step by step.
Step 1: Pour the Glue
Start by pouring an entire bottle of clear or white school glue into a mixing bowl. This is the base of your slime.
Step 2: Add the Baking Soda
Next, add a tablespoon of baking soda to the glue. Baking soda helps to firm up the slime. Stir the mixture well until the baking soda is completely dissolved and smooth. This step is crucial for creating the right texture for your slime.
Step 3: Pour in the Contact Solution
Now, slowly pour in two tablespoons of contact lens solution. As you stir, the mixture starts to come together and become stretchy.
Don’t worry if it initially feels sticky and seems like there’s too much contact solution. Keep stirring and kneading the slime with your hands.
The more you knead, the better the consistency will become. This process might take a few minutes, so be patient. You’ll soon have a perfect batch of slime.
Step 4: Check the Consistency
Once your slime has reached the desired consistency—stretchy but not too sticky—it’s ready for the fun part.
If it’s still too sticky, continue kneading for a bit longer. Usually, no extra solution is needed, but every batch can be slightly different.
Step 6: Add the Glow-in-the-Dark Stars
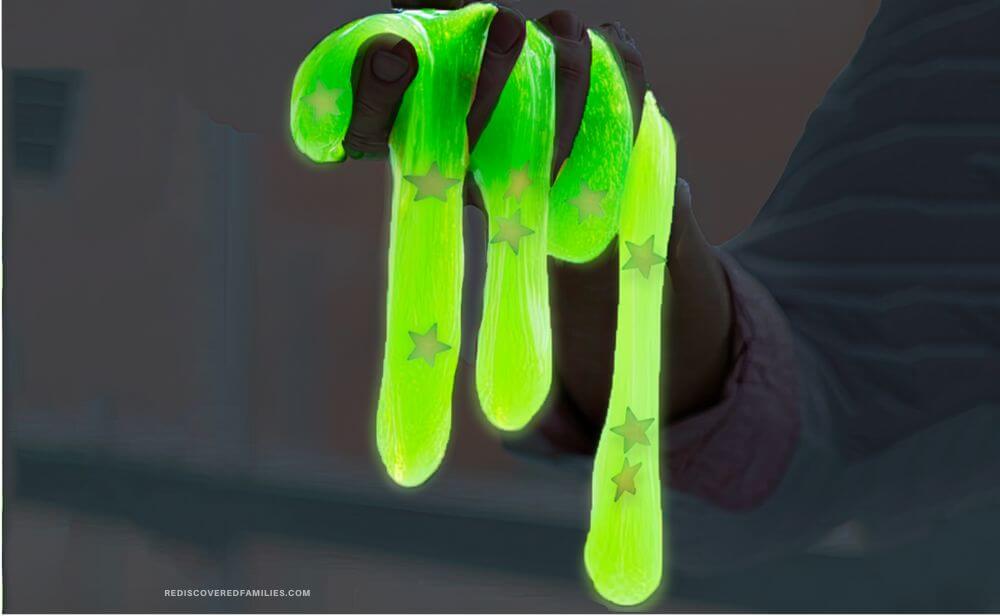
Now, it’s time to make your slime really glow! Add a handful of glow-in-the-dark stars to the slime and mix them in thoroughly.
These stars will charge with light and shine brightly when you take the slime into a dark space.
Step 7: Watch It Glow
Take your slime into a dark room or a closet. Turn off the lights and watch the magic happen!
The slime and stars will glow, creating a mesmerizing and fun experience for your kids. They’ll be thrilled to see their creation come to life in the dark.
Step 8: Store the Slime
When playtime is over, store your slime in an airtight container or a jar to keep it fresh. This will allow your kids to enjoy their glow-in-the-dark slime repeatedly.
Looking for more glow in the dark fun? Check out our ideas for an Epic Glow In The Dark Party.
Helpful Tips for Glowing Slime Success
- Go Slowly with Activator: Start small and go very slowly with the activator. Adding too much at once can make the slime too stiff.
- Mix Thoroughly: Take your time to mix each ingredient well. This helps to achieve a smooth and even texture for the slime.
- Adjust the Consistency: If your slime is too sticky, add more drops of contact lens solution and knead it well. If it’s too stiff, try adding a bit more glue.
- Knead, Knead, Knead: The more you knead the slime, the better the texture. Don’t rush this step. Kneading helps activate the ingredients and makes the slime stretchy and fun.
- Keep Safety in Mind: Ensure kids wash their hands before and after playing with slime. Supervise young children to ensure they don’t put the slime in their mouths.
- Keep Pets and Small Children Safe: Store your slime out of reach of pets and small children. Label it clearly so there is no mistake. Make sure pets stay out of the area so they don’t eat anything they shouldn’t.
- Clean Up Spills Quickly: Before making slime, it’s good to have a wet washcloth or rag available to clean up any spills immediately.
- Store Properly: Always store your slime in an airtight container or a sealed plastic bag to prevent drying. Proper storage ensures the slime stays fresh and playable for a longer time.
What Exactly Is Slime And What Is It Made Of?
Slime is an example of something called a non-Newtonian fluid. It’s neither a liquid nor a solid. You can pick it up like a solid, but it also flows and stretches like a liquid. This makes it super fun to play with!
Polymers: The Building Blocks of Slime
Slime is made of polymers, which are very long chains of molecules. Imagine a polymer like a long train made of many cars linked together.
The glue you use in slime has these long chains of molecules. These chains can slide past each other, which makes the glue flow and stretch.
The Science Behind The Homemade Slime Recipe
Slime is all about chemistry! Chemistry is the science of what things are made of and how they change.
Something amazing happens when you mix glue with a slime activator (like the contact solution). The activator forms cross-links with the glue molecules, forming a new substance.
The cross-linking allows the slime to be stretched and squeezed. The molecules are connected in a way that makes the slime feel solid when you press on it but flow like a liquid when you let it move slowly. This unique behavior is what makes slime so much fun to play with!
Glow in the Dark Star Slime
Ingredients
- 1 5oz. bottle of glow in the dark glue
- ½ tbsp. Baking soda
- 1 tbsp. Contact solution
- Glow in the dark stars
Instructions
- Pour the glue into the mixing bowl.
- Add the baking soda and stir well until combined.
- Pour in the contact solution and stir until slime becomes stretchy. (Note: Your slime will feel sticky at first and it will seem like there’s too much contact solution. However, keep kneading the slime and it will get to the desired consistency! I did not have to add any extra solution to this recipe.)
- Once the slime is at the desired consistency, it’s ready!
- Use a plastic mat for play time. Add the glow in the dark stars to the slime.
- Find a dark room or closet to see the slime and stars glow in the dark!
- Store the slime in an airtight container or a jar.
Notes
Take your time to mix each ingredient well. This helps to achieve a smooth and even texture for the slime.
Before making slime, it’s good to have a wet washcloth or rag available to clean up any spills immediately.
Creating glow-in-the-dark slime is a fantastic way to combine fun and learning.
Now that you know how to make glow-in-the-dark slime, it’s time to gather your supplies and get started. Enjoy the smiles and giggles as your children create and play with their glowing slime.
Be sure to pin this post for later so you can return to it whenever you want to recreate the magic!
This post is part of my growing collection of science and STEM posts. Need more inspiration to keep kids busy? Head over to our Kids Activities page where you’ll find hundreds of fun ideas all in one place.